Monday, December 7, 2015

A Cotton Candy Sweet As Gold Christmas Parade Miracle

I attended the Richmond Christmas parade with Lara and Megan at 10:15 this past crisp Saturday morn. On the way there we walked by the Richmond Coliseum and I pointed out to Lara the tree that was in the building across the Coliseum’s entrance.  A car then came screaming down the street headed the wrong way. As if the fact that none of the signs were legible to the driver, there were also directional arrows for traffic flow painted onto the street.  Surely the driver must’ve known what was up.  I shrugged it off, guessing that perhaps they had thought that 10:15 on a crisp Saturday morn was a fine time to imbibe mimosas and get behind the wheel.

We were a block away from the parade street when we saw a mother and child briskly walking away from the parade with the mother hollering on her phone.  “The answer is NO. I told you NO! Why you gotta keep asking me when I feel that way?”

Perhaps it was the Christmas spirit moving through my sarcastic and jaded bones, or the kid who was being dragged along, but I felt like performing an act of kindness for the woman in some way.
“Looky here, Big T,” I pictured myself grabbing the phone and saying into the receiver, “No means no, you dig?”

But if experience has taught me anything, it’s usually that my version of helping people results in them getting royally pissed off at me. Besides, who wants to be pummeled when you’re a block away from a Christmas parade full of hope and goodwill? That would just make for an awkward story. “Say, what happened to you, Trey?” “Oh, I went to the Christmas parade and got beat up. Pass the salt?”

I hopped across the street with Lara and Megan and folded out the camp chairs.  The Christmas parade was slated to start at the Science museum about 2 miles away, and we had arrived somewhat late so that by the time we would set our chairs up, the Christmas parade would be close and prevent us from wondering aloud if the street we were on was the one that had the 12 homicides in a 10 day stretch that allowed Richmond to become the US’s number one homicide capital, leaving the mediocre runner up slot to be pawed all over by Detroit and Saint Louis.

Nothing much happened for the next 30 minutes, so we began people watching, and it was heartwarming to see all the different people lined up without caring a jot for who they stood next to. The lady with a purple streaked pompadour and tattoos covering every inch of skin? Why, she was standing next to a small child wearing a hat in the shape of a chimpanzee’s head, and they both turned to each other and smiled.

 Things got interesting when we saw a family making their way through the street on hoverboards. Instead of deftly snaking their way through the crowd with smug looks on their faces (“Walking? Hah! How plebian! Out of the way, you!”), they were moving in a herky-jerky fashion with their knees bent, and their eyes wide eyed and glassy with fear.  My concern about the safety of the boards was confirmed when the wife’s hoverboard decided it had had enough of carrying her for the past mile, and bucked her off face forward onto the street. But instead of being sensible and just picking herself and her child up and start walking, she brushed herself off and continued on with the lethal hoverboard.

A large man in a Washington Redskins jacket and a black trash bag full of something, began eyeing the crowd and determined that this was a good place to stand and started to shout: “Cotton candy, sweet as gold, let me see that tootsie roll!” He then started pulling out pre-filled bags of cotton candy from the trash bag and stapling them onto a stick that he had brought.  “Here Big Daddy!” he boomed to Megan, “Here’s some cotton candy! Watch my stuff! I’ll be right back!”
Megan stared down at the cotton candy with a look on her face that said, “What the hell just happened?”
“Don’t even think about eating that until he comes back!” Lara said.

Suddenly the crowd started clapping and cheering, and the Christmas parade began making its way down the street.  After the first two floats, I noticed something odd about it. “No candy being thrown out?” I asked Lara. “Probably for safety. They don’t want kids to run out into the street and get run over.”

Call me old fashioned, but when I was growing up, a Christmas parade always had candy for the kids, but the kids would always go home empty handed.  It was a very cyclical manner of candy giving, I suppose, but we came to view it as yet another Christmas celebration.  Our grandfather would take us to the parade, and the EMTs and hospital staff would always be the first to start, followed by the Kiwanis Club.  They would begin tossing out hard candy that we would scoop up with gloved or mittened hands.  Next would come the police, followed last in line by rows of fire trucks.  The fire trucks would wait until just the right moment before laying on their air horns and all the children would drop their fistfuls of candy and slap their palms to their ringing ears. 

“I don’t understand why you children always drop your candy every year. It’s not THAT loud!” my grandfather would state. “Can we go home? I’m thirsty” I would cry.  “Of course it isn’t Thursday! It’s a Saturday!” he’d reply.

I shook my head in a wistful manner, reminiscing on my Christmas past.  What other kinds of fun were these kids missing out on? And besides, who was going to teach them that axiom “The lord giveth, and the lord taketh away with a mighty blasting of horns?”

Something seemed strange about this Richmond Christmas parade. It wasn’t just the floats driving past that had little to do with Christmas, like the Celtic cloggers decked in purple, or the marching bands that played Jidenna’s “Classic Man” and Silento’s “Watch Me.” It was something else. The floating, inflated Kermit seemed to share my feelings. Instead of drifting down the street, standing pat and waving his hand in season's greetings, he was hunched over with a hand on his stomach as if recovering from a serious bout of Montezuma’s Revenge, and another hand on his face as if he were saying, “Oh god, I can’t believe I was talked into this. No, I’ll be fine, just get me to the end of the parade!”

Was this what I had come to see? A woman get bucked from a hoverboard? A gender-blind man selling a seasonally inappropriate candy? A 15 foot high amphibian in gastric distress? What this parade needed was a Christmas miracle to restore my faith in all the future Christmas parades. But alas, my heart dropped when the end of the parade came and the only Santa I saw was on an HCA float, lying still and entirely comatose on a gurney next to a smiling and alert Mrs. Claus.  A long pause followed, and I turned to Lara and said, “I think this is their way of saying Christmas and the parade are officially dead. Let’s head home.”

As we folded up our chairs and started walking off, music began playing and another float came on by! The parade wasn’t over! Christmas wasn’t dead! Did it matter if the people on the float weren’t sure what was going on? Or if they had no signs to inform the public that they weren’t just grabbed off the street at the last minute as a filler for the parade? Of course not! What I had just received was my Christmas parade miracle at exactly the right moment. Lara and I held hands as we watched the parade continue to ramble on by, before deciding to leave early and beat the traffic.


Friday, January 2, 2015

It's So Nice When it Happens Good

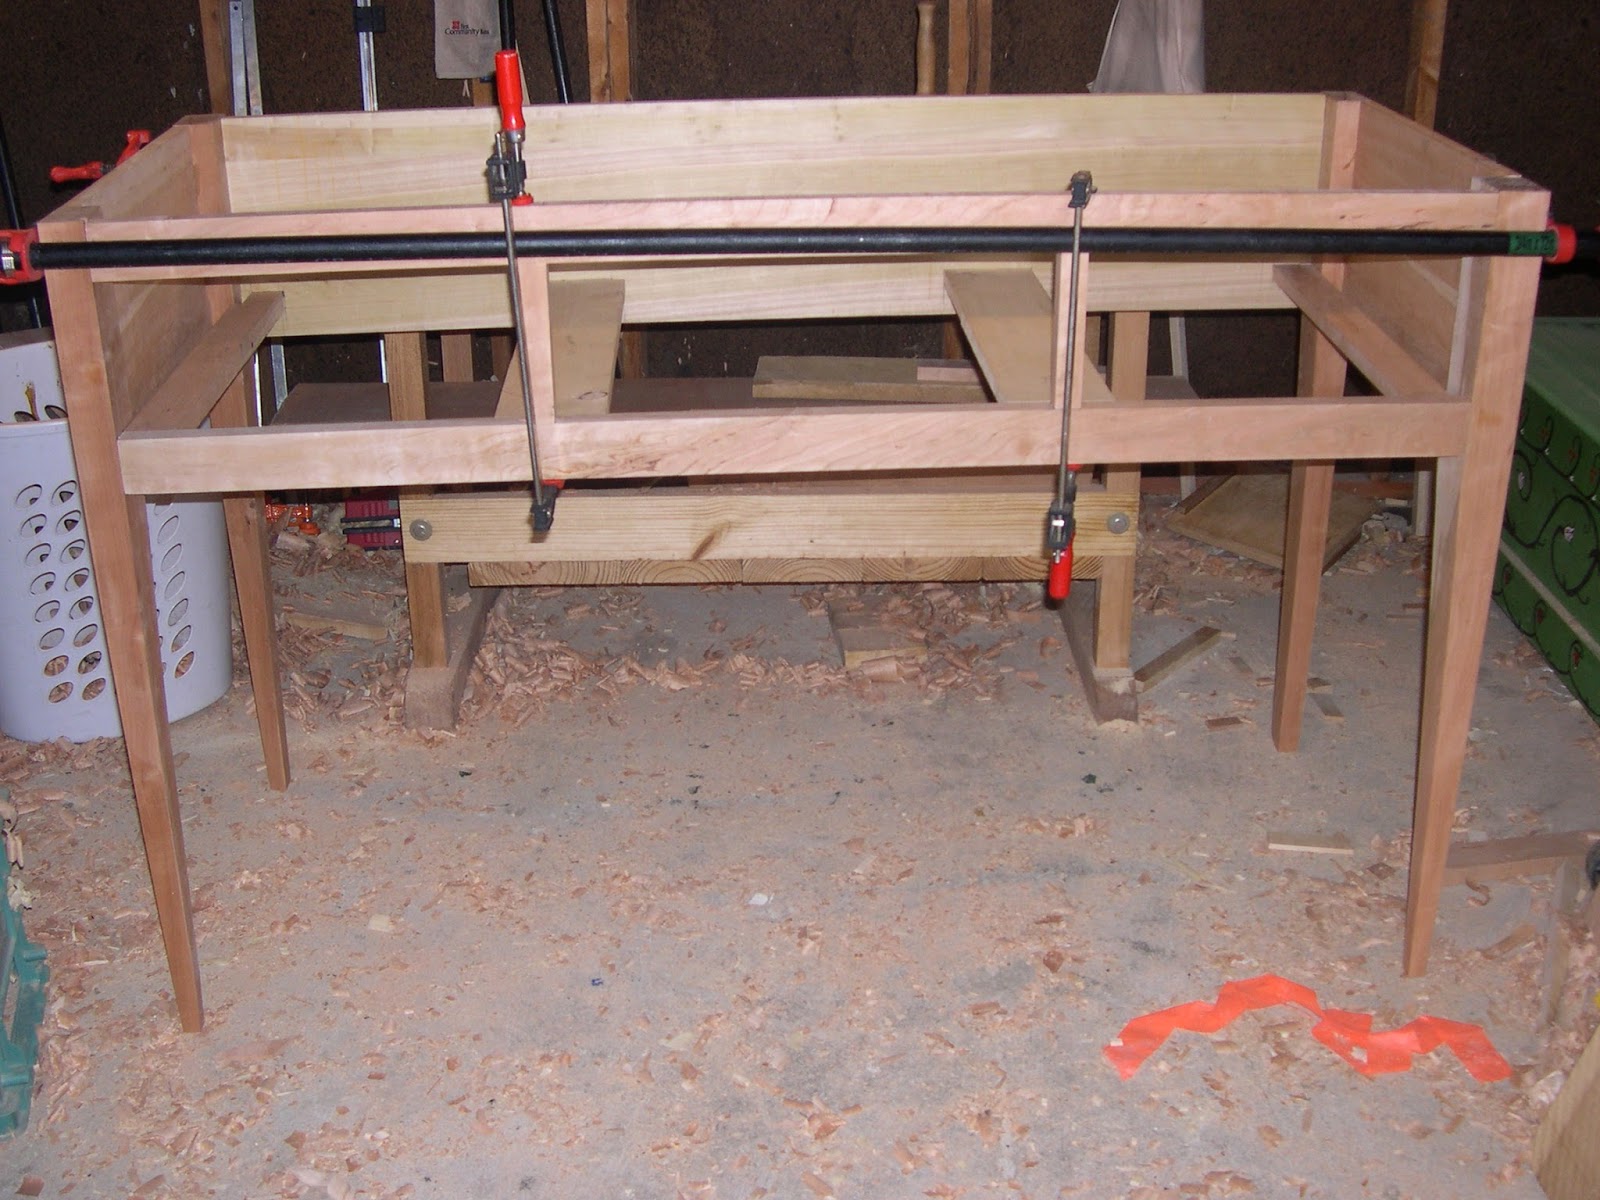
I've had a handful of woodworking projects that have been lingering over the past 4 months longing to be completed.  A dropleaf table in maple, a mallet in need of a new head, and a sofa table in cherry.  Since vacation, over a period of 5 days I've been able to fit and install the hinges for the drop leaf table (still waiting to get finished projects out of the shop before working on the leaf supports), cut all the joinery for the sofa table and massaged all the tenon cheeks to fit snugly into their mortises, glued up the sofa table, chopped the sloping mortise for a new mallet head in a block of 3 inch thick red oak and fitted the handle firmly in it, and completed a small table for my niece within a total 5 hour time span.
The only thing left to do for most of the projects are to finish them with shellac, which I'll do on a warm day, but considering how smoothly most of the projects came together, I don't anticipate any hiccups during it. It's so nice when it happens good.

Sunday, October 5, 2014

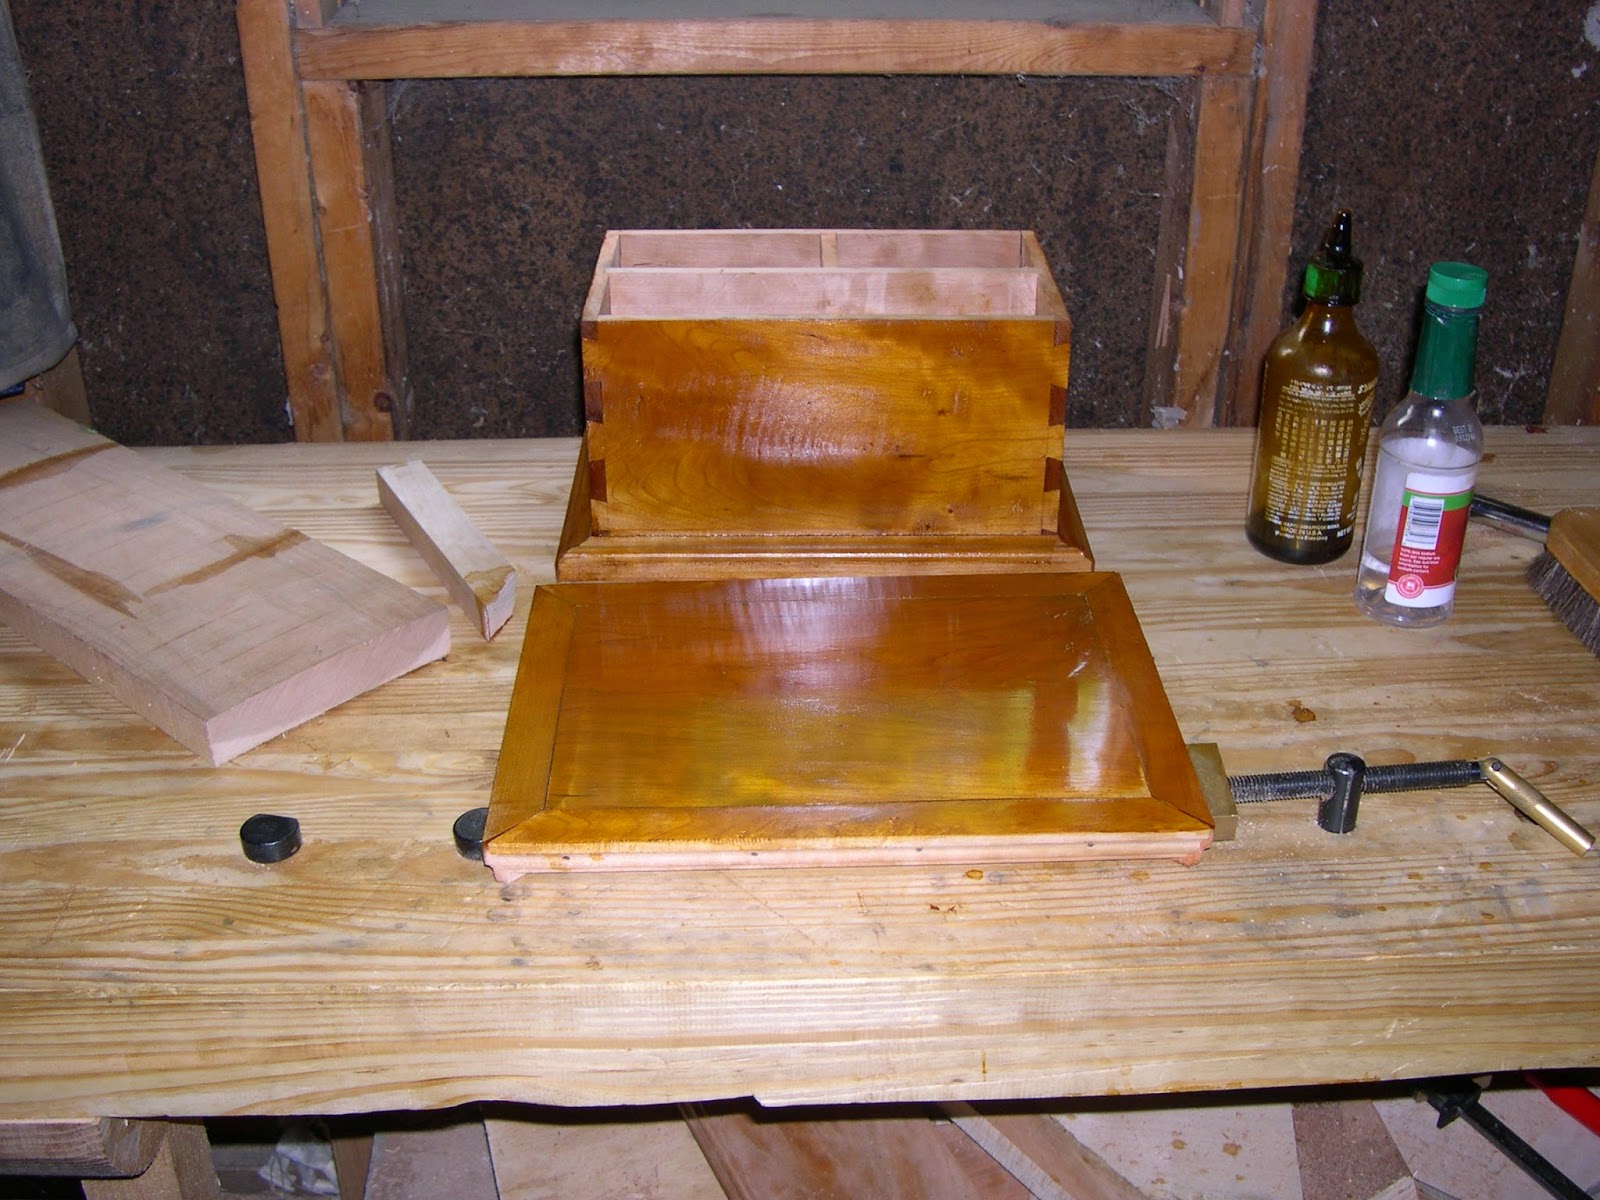
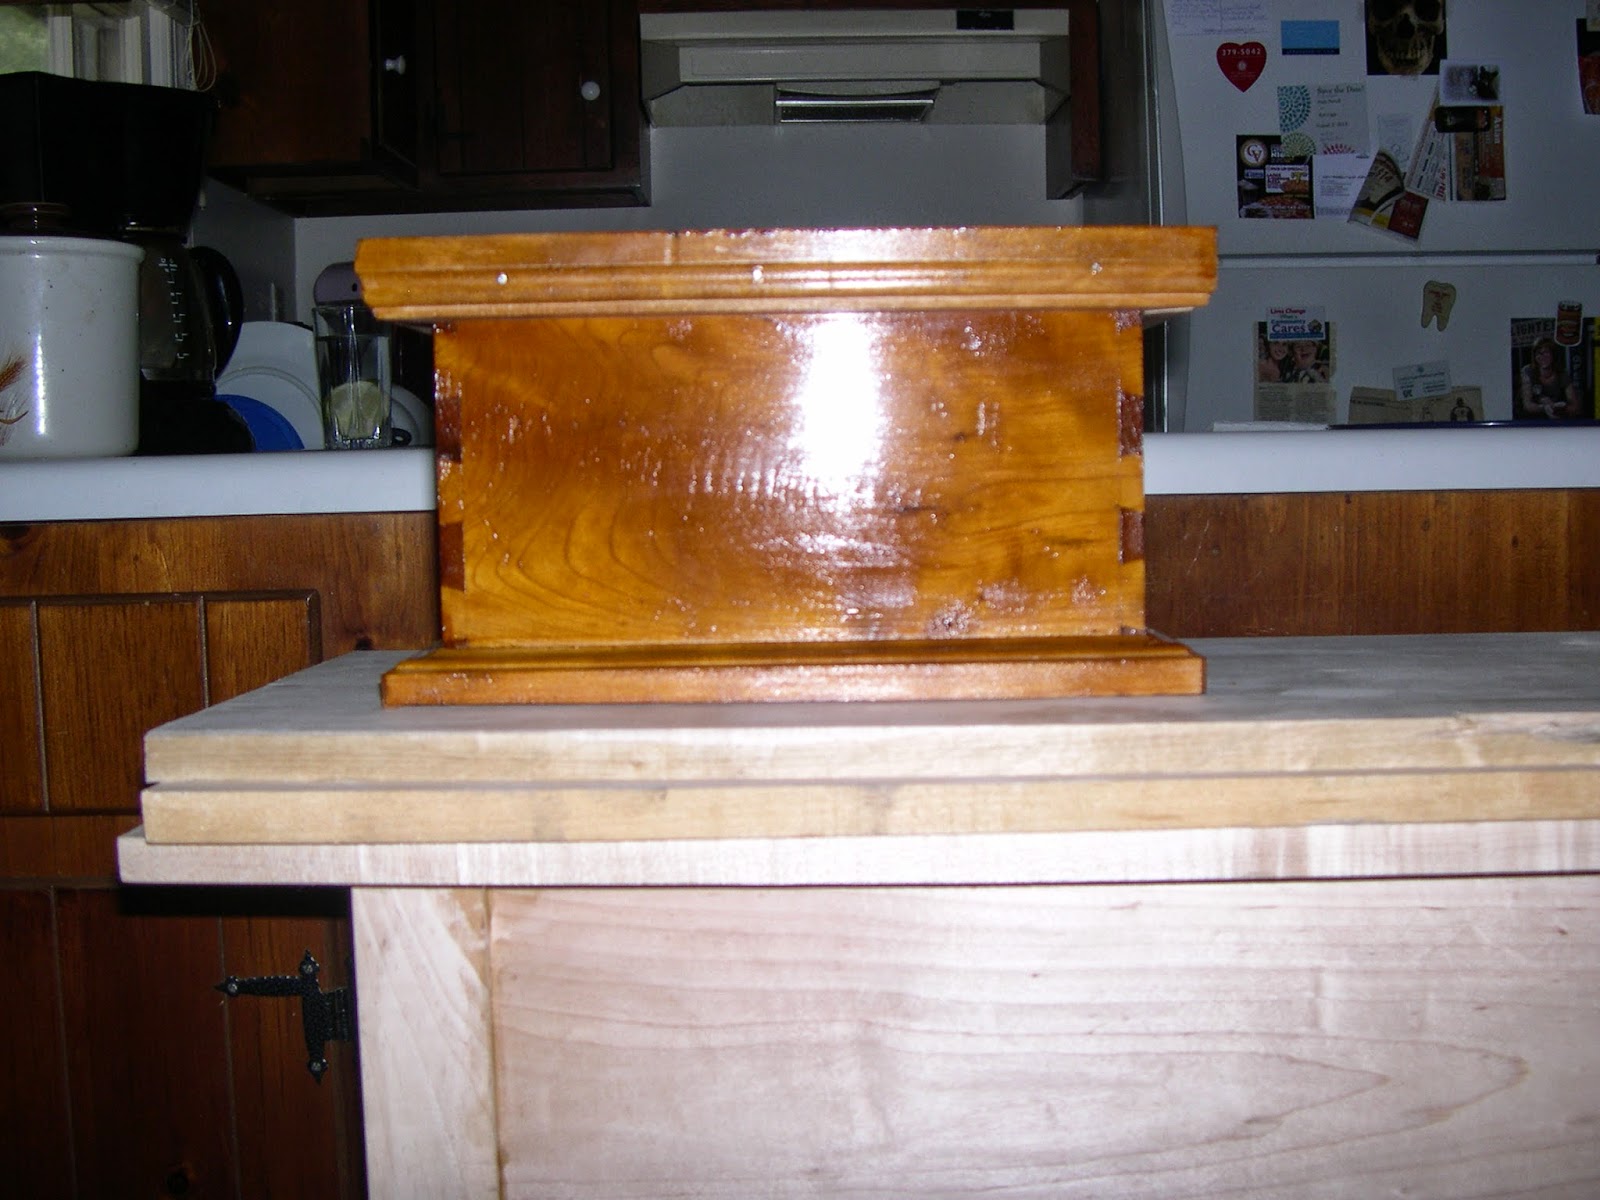
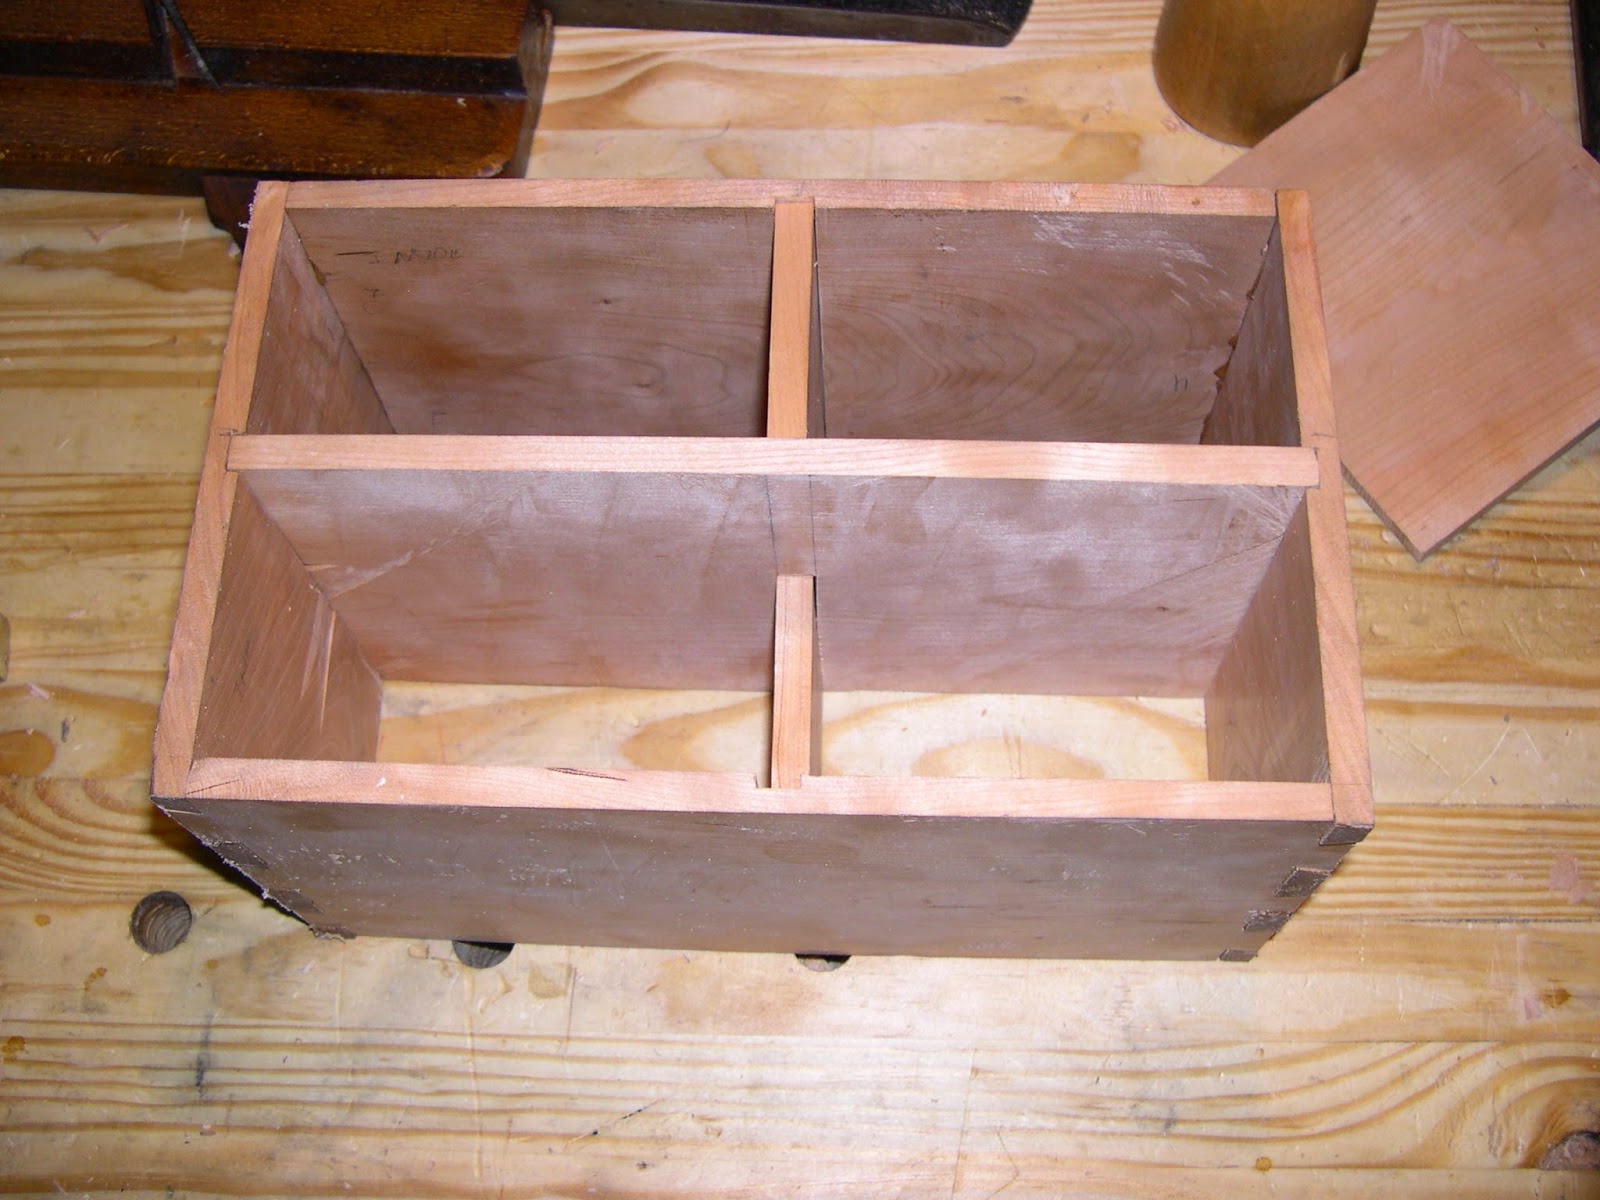
Tea Caddy Finished


The shellac I used was regular ol' orange shellac.  I had to strain it and decant it off of the wax, but it looks the exact same color as the garnet shellac, and it's 4 times less expensive ($10 per pound vs $40 per pound from Brooklyn Tool Co.).  I put the caddy in a sunny spot in my dining room, but unfortunately most of the sunlight hit the top, so it has a distinct reddish hue compared to the body of the tea caddy.
It was different working with stock this thin and small, and I learned a fair amount on resawing wood by hand. And that I'm horrible at making moldings and mitering them.  But I'm not sure I'm cut out to be a box maker.

Thursday, August 21, 2014

It's That Time of Year Again

It's that time of year again and hunting season is upon us. That means I've got to attempt to repair a small split in my dad's old 12 gauge semi automatic shotgun and get back on the shooting range to practice for deer hunting.  I don't particularly enjoy target shooting with my Remington 700 BDL .270. It kicks, it's deafening, and it enjoys expensive ammo. That's pretty much why I purchased a 10/22 so that I could practice shooting without selling a kidney.

The last I can recall, I was feeding it Hornady 130 grain SST type ammo and it was grouping about .5 MOA. I still have a box of Remington Accutip which uses the Hornady SST bullet, and I suspect it's made at Hornady's plant, but I plan on trying to purchase some more Hornady ammo and Winchester ballistic silvertip to see what kind of groupings I get.  But I still need to take it to the range to see if I need to make any scope adjustments before hunting.

I recall the different ammo I've tried over the years with much umbrage. Winchester X, Remington Core-lokt, a South African imported type that was designed for thin skinned African game and utilized an all lead bullet and slightly reduced powder charge, Remington managed recoil, Federal Fusion...they all stunk to varying degrees. The Federal Fusion stunk the worst...I was managing something along the lines of 4 to 5 inch groups at 100 yards, and more often than not the third bullet would get thrown will nilly over the paper. But the Remington Core-lokt was somewhat decent and consistently averaged 2" groupings at 100 yards.

So what does this mean? Nothing, really. Just that Hornady SST bullets are very favorable to my gun for whatever reason and they're effective. Just looking on the internet for a particular brand of ammo will yield two camps, those that state "I was able to group 10 shots within a gnat's hair at 500 yards" and those that rebut "the results of this ammo make me thing my rifle sneezed all its bullets out over the target."

Right now I'm reading Jack O' Connor's book "The Hunting Rifle" and I'm curious as to what he says about bullet types. 

Tuesday, August 5, 2014

Tuesday, July 1, 2014

Sideboard From Rough to Smooth

I have no clue where the idea came from to build a sideboard. I think it was just the fact that we had more space than ever in our dining room and it looked fairly barren, coupled with the fact that we seemed to have an endless supply of dishes, silverware, stemware, and tablecloths. I'd purchased "Furniture in the Southern Style" almost a year ago to this date, and pored over the photos, drawings, and exploded diagrams of the different pieces from the MESDA collection. The one piece that I kept leafing back to was a simple three drawer sideboard with a back splash, some corbels around the front legs, and banding, constructed using mortise and tenon joinery.

I drew a design based off it, but stripped out the back splash, the corbels since they looked really clunky, and the banding because I wasn't sure how it would look against cherry (the original piece's primary wood is black walnut native to the southern USA. The secondary wood is southern yellow pine AKA longleaf pine).

I bought 47 bf of cherry and 10 bf of tulip poplar for the sideboard, based on calculating the bf requirements for the cutlist given in the MESDA book and then adding a little extra just in case. As it turns out, this was actually a little bit too much, and I wound up making a coffee table with the top and rails made out of the clearest and straightest cherry and using some left over white ash for the legs. I asked the guy who was selling me the lumber if he possibly had any leg blanks in the rough.
"Leg blanks? How thick do you need it?"
"Around 2 inches rough"
"No...I got a 10 foot slab of  cherry 3 thick and 10 wide. Will that do it?"

And so I purchased a huge ass slab of wood that will give me hernia problems when I hit 40.

The first thing I did when I got the lumber was to pick out boards that were clear of knots, straight grained, and mostly flat. Unfortunately there were very few boards like that. What boards I did pick, I cut out drawer fronts, sides, and tops from. But because I used most of the flat and clear pieces of cherry for the coffee table I built, I had to go back to the lumber stacks and pick out some pretty crazy looking pieces of cherry that had some serious cupping.

The Legs

After I got my parts cut out, I started work on the legs. I'm not sure if you've had the pleasure of ripping 10 feet of 3 inch thick cherry, but it's the kind of pleasure that you want to reserve solely for a tablesaw or bandsaw. And because of the small, small size of my shop, I had neither. Just a lowly 700mm bowsaw with a 5 tpi web. After I cut the leg blanks out of the slab, I started work on them.

After mortising

Tapered


The tapers were done by using a drawknife to hog off waste. For something like this, though, there was a lot of material to take off. A hatchet or ax may have been a better choice. Mortises were cut with a 3/8" Narex mortising chisel which was a godsend.  It's unique in that it's trapezoidal in cross section which allows you to better steer the chisel which is exactly what I needed in the wild figured cherry. The case sides are fairly wide, and more than likely the original side was one piece of black walnut, so to accommodate wood movement, I chopped the top mortise as the fitted mortise and left the bottom two a little longer than needed for their tenons and left them unglued. The reason is simple: if the wood attempts to contract, it'll be able to shrink on its lower half, and if it attempts to expand, it can do so on its lower half. Had I fitted the tenons tightly to the mortises and glued all three, when the side would try to expand or contract, it would split the sides.

The Sides and Back

After some serious handplaning, the case sides wound up being in the neighborhood of 12 inches wide. I used my dinky Stanley rabbet plane (the type with a one arm fence and depth adjuster that uses a lever instead of a nut and yoke) to cut rabbets to the proper tenon thickness, and then cut out the tenons from the one long rabbeted edge. Let's just say the Stanley leaves a lot to be desired when it comes to cutting rabbets. I now have my eye on the Lee Valley Veritas model. The back was done exactly the same way, but I mortised it for the drawer runners.


The Front Rails

The front rails were a nightmare. By this time, I was running fairly low on cherry. What were supposed to be the rails for the sideboard were now the rails for the coffee table. So I had to use some seriously twisted wood with crazy grain pattern. Grain run out, sapwood dispersed throughout, reversal, grain diving down, coming back up, undulating...it had it all!


Dry fitting to check the mortise and tenon

Dry fit to test for square on the case front

The Top

Because my best pieces went to the cherry coffee table, I settled for some lesser boards that had a lot of sapwood and a ton of warping. I did my best to flatten each piece, but after an hour I threw up my hands, and glued the three boards together. I think the real trick to getting flat panels from rough boards like this is to try and joint the edges so that the faces are approximately coplaner, and then roughly flatten the back face, and get the top dead flat and smooth from tear out. But now I know.


The Drawer Runners

This part wasn't too bad. After dry fitting the front rails I mortised the lower rail and cut tenons on some cherry off cuts and pine for the drawer runners. Looking back, it would've been much better to have had the side drawer runners as wide as possible so that they mated with the inside of the case sides. That would've made putting in drawer guides a cake walk, as I could've glued strips on the wide runner so that they butted up against the drawer. Because as of right now, my two outside drawers have no guides on their outer edges since their outer edges line up perfectly with the outer edges of the drawer runners.

At this point I should've said, "Hey wait a second..."
The Glue Up

The glue up is the most exciting time of any project. It's the time when you're nearing completion, and it's also the time you'll most likely pay if you haven't done a dry fit, especially with larger pieces. After a particularly exciting glue up involving an out of square stool, a lone too long tenon for its mortise, a paring chisel, and my thumb, I always do dry fits to rehearse the best way to put the piece together and to find any mistakes while I can still fix them.


The Drawers

The drawers were constructed using half blind dovetails in the front and through dovetails in the back. I remember this being somewhat routine, although I wish I'd practiced dovetailing a lot more before jumping into the half-blinds. While I was chopping out the waste for the center drawer front, a large piece of cherry cracked out of the back despite my best efforts to use as little force as possible to chop the waste out and to keep the back well supported to prevent this from happening.  But happen it did. I cut a triangular patch that was larger than the damage out of the drawer front, and cut a piece of veneer to cover it. I clearly hadn't had enough sleep the night before, since you should always cut the patch of veneer first, and then scribe the shape of the patch over the damaged area for a better fit.


The Finish

I finished the coffee table first before getting into the heavy work on this piece. But the thing that irritated me is that the garnet shellac over the cherry coffee table top looked really...orange. Not at all what I expected. I knew I'd have to stain the whole sideboard since all of the boards I'd used to build the top had cream colored sapwood in it, and the front rails were hideous with sapwood and crazy mineral streaks. I purchased red aniline dye from Lee Valley and applied it until I got the color mostly evened out. The top was the first part that I finished, using the French polishing technique and the same garnet shellac. The drawer fronts got the same treatment, and the rest was brushed with about 4 coats of garnet shellac. I used a card scraper to level the finish on the front legs, rails, and sides, and French polished on a small amount of shellac until I got the sheen I was looking for.  The hardware was bought from Lee Valley.


Sideboard finished


Aaaand we're done. I finished the sides by humping the whole case minus the top out to my back porch with a drop cloth laid down and using a brush to put on three layers of garnet shellac. After three hours of letting it dry, I used a card scraper to scrape flat the surface on the rails, stiles, the fronts of the legs and the case sides, and then charged a pad and polished on shellac until my pad began dragging slightly (approx. two coats). The end result looks great. It's not a highly polished surface compared to the drawer fronts, but it's got a great sheen to it, it's smooth, and the grain is partially filled, giving it a little bit of texture.
I debated about refinishing the top. Although I had French polished it, I hadn't done quite enough bodying sessions, and the shellac had shrunk back into the pores which also highlighted low spots in the top. This set it apart from the high gloss drawer fronts, and not for the better.
I'd also run out of BT&C dewaxed garnet shellac. I could wait for two whole days for my other batch of orange shellac to dissolve and then decant the shellac from the wax, or I could press my luck and try to rub out the finish to see if I could get a better sheen from it.
I haven't had much success rubbing shellac out with pumice and rottenstone. Part of me wonders if the shellac was on its last legs (I French polished the center drawer front and let it sit for 3 days to allow the shellac to fully cure. But when I clamped it to my bench top to install the drawer pull, the shellac was still too soft and cloth indentations were left in it. On the other hand, we had some pretty intense heat that week in the upper 90's and my shop doesn't have A/C). Whatever the reason, I took a chance and used just the rottenstone to polish it up. And it worked great! Over time I expect it to acquire a more semi-gloss look after dishes and plates slowly scratch the surface.
I'll do another blog post detailing the build from start to finish and lessons learned along the way.
 
Creative Commons License
This work is licensed under a Creative Commons Attribution 3.0 Unported License.